Sparkx i7 LED Upgrade
Sparkx i7 LED Upgrade
Product Introduction

An upgrade based on the design of “HLS - Hackman Led System for Sparkx i7” with simplified installation and wiring.
Compatible Printers:
Sparkx i7
Assembly Steps
You can watch the assembly video (Coming Soon).
Usage Steps
Step 1
You need to download the .stl files from our GitHub, then print them.
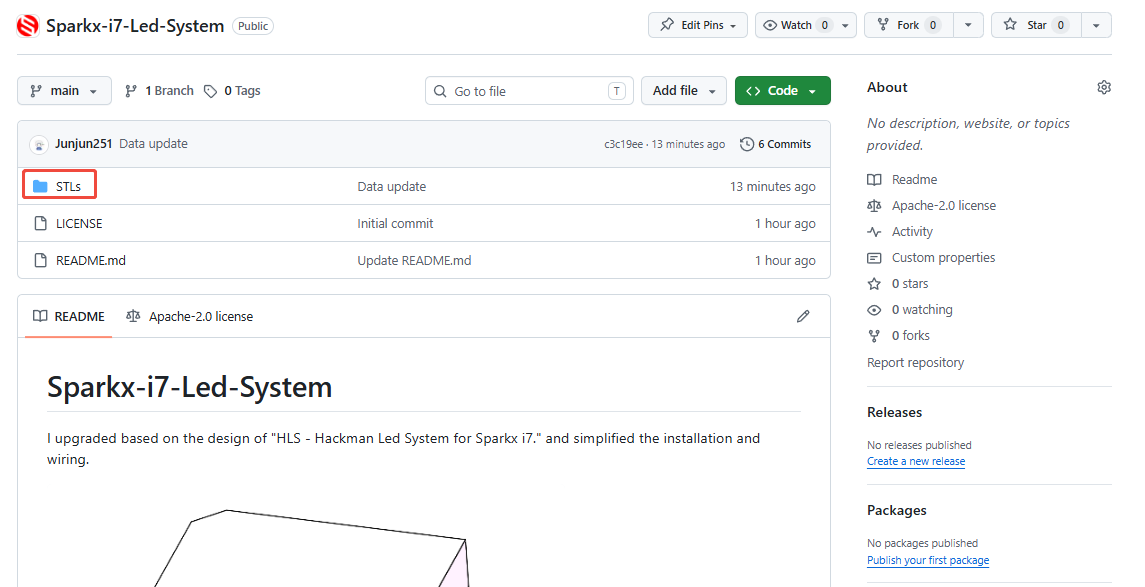
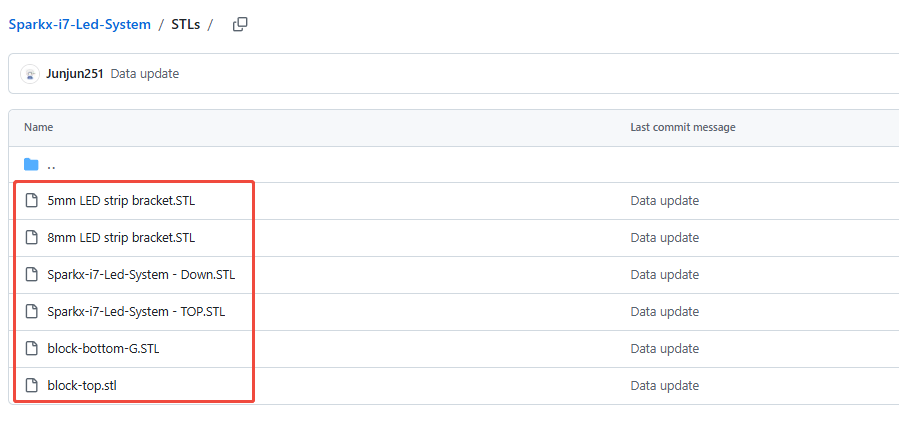
Step 2
Next, plug in the connector of the LED strip into the control board.
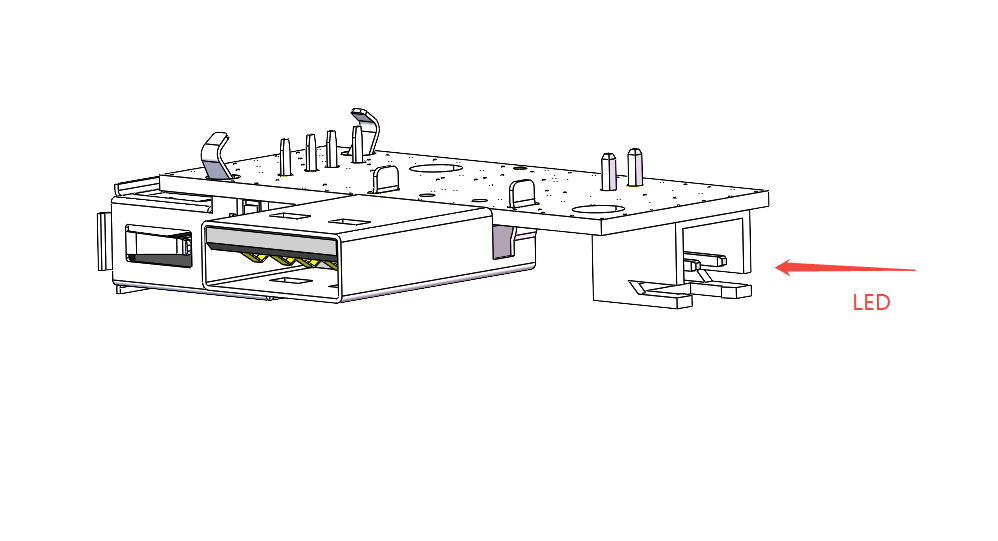
Step 3
Assemble according to the diagram, and install the control board into the printed shell from first step.
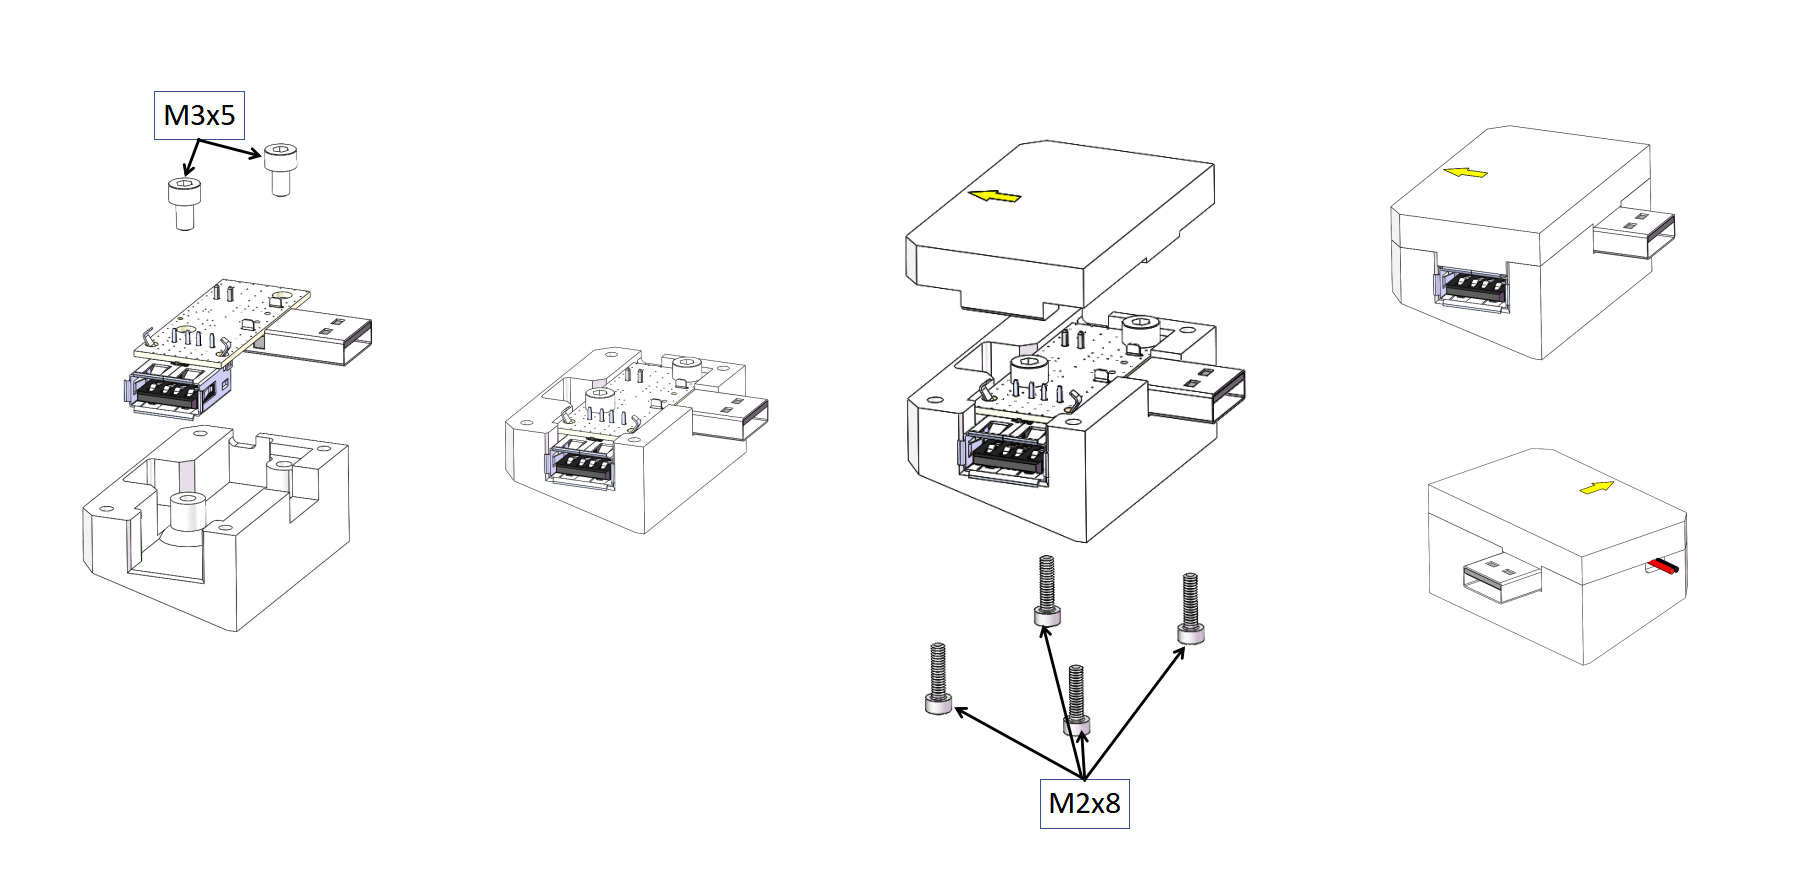
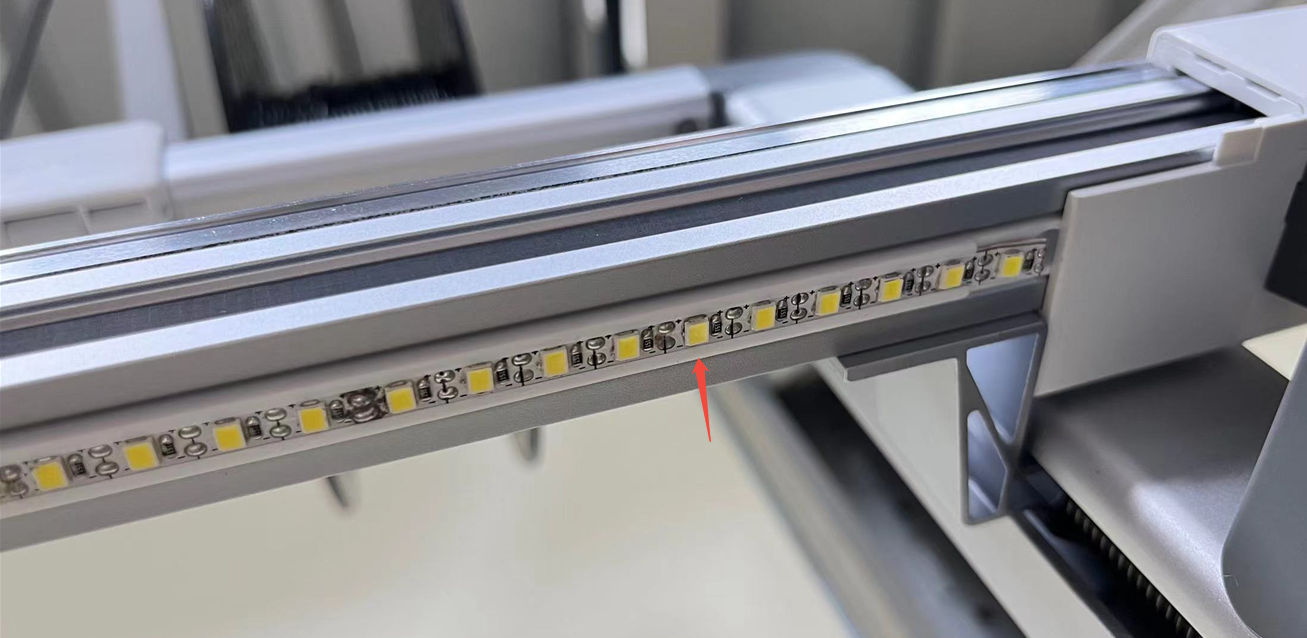
Step 4
Install the printed part “8mm/5mm LED strip bracket.STL” into the slot below the X-axis and secure it using M3x6 screws.
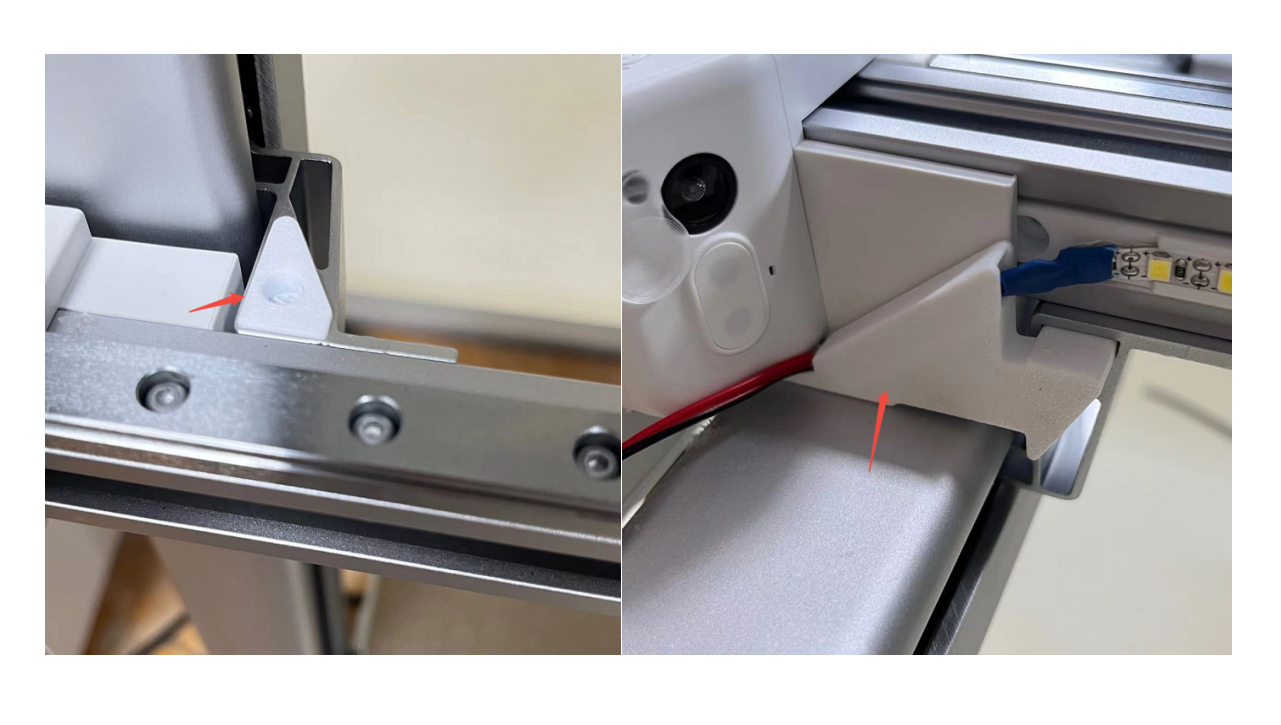
Step 5
Install the printout “block-bottom-G.STL、block-top.stl” into the metal slot on the left side of the X-axis and M3x12mm secure it with screws.
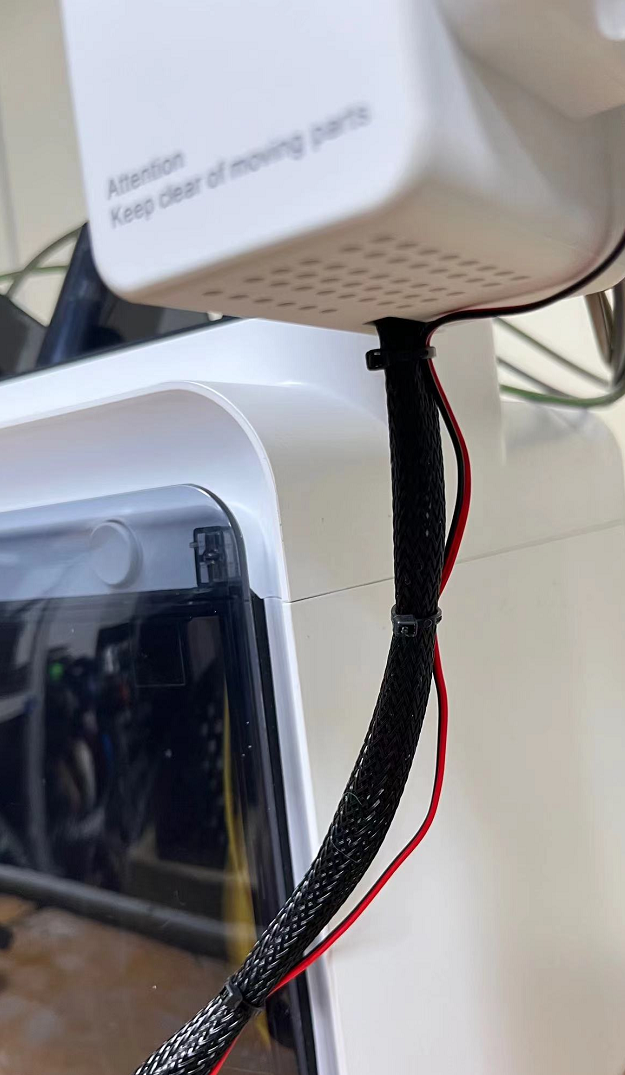
Step 6
Secure the power cord with a cable tie.
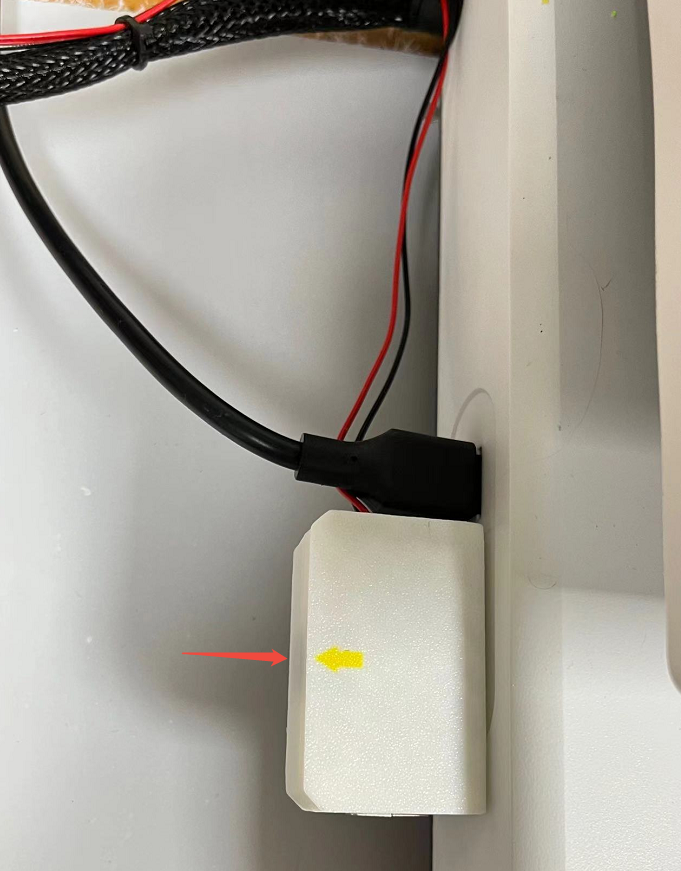
Step 7
Plug the power module into the USB port of the machine.
After installation, touch the left side to switch the LED on or off.
Attention
Refer to the assembly tutorial to avoid installation errors.
FAQ
- Q: How do I install into my 3D printer?
A: You can watch the assembly video (Coming Soon).
- Q:Does the installation require additional printed fixtures?
A:Yes,Please click below to download or scan the QR code to download the files.
Attachments

Shop
Tech Support
Disord Server: https://discord.gg/RXuwedUkB9
Facebook Group:https://www.facebook.com/groups/197476557529090/
Tech Support Email: support@fysetc.com
Updated on: 07/09/2026
Thank you!